
Dryer Vent Cleaning: What It Involves, How Often to Do It, and What It Costs
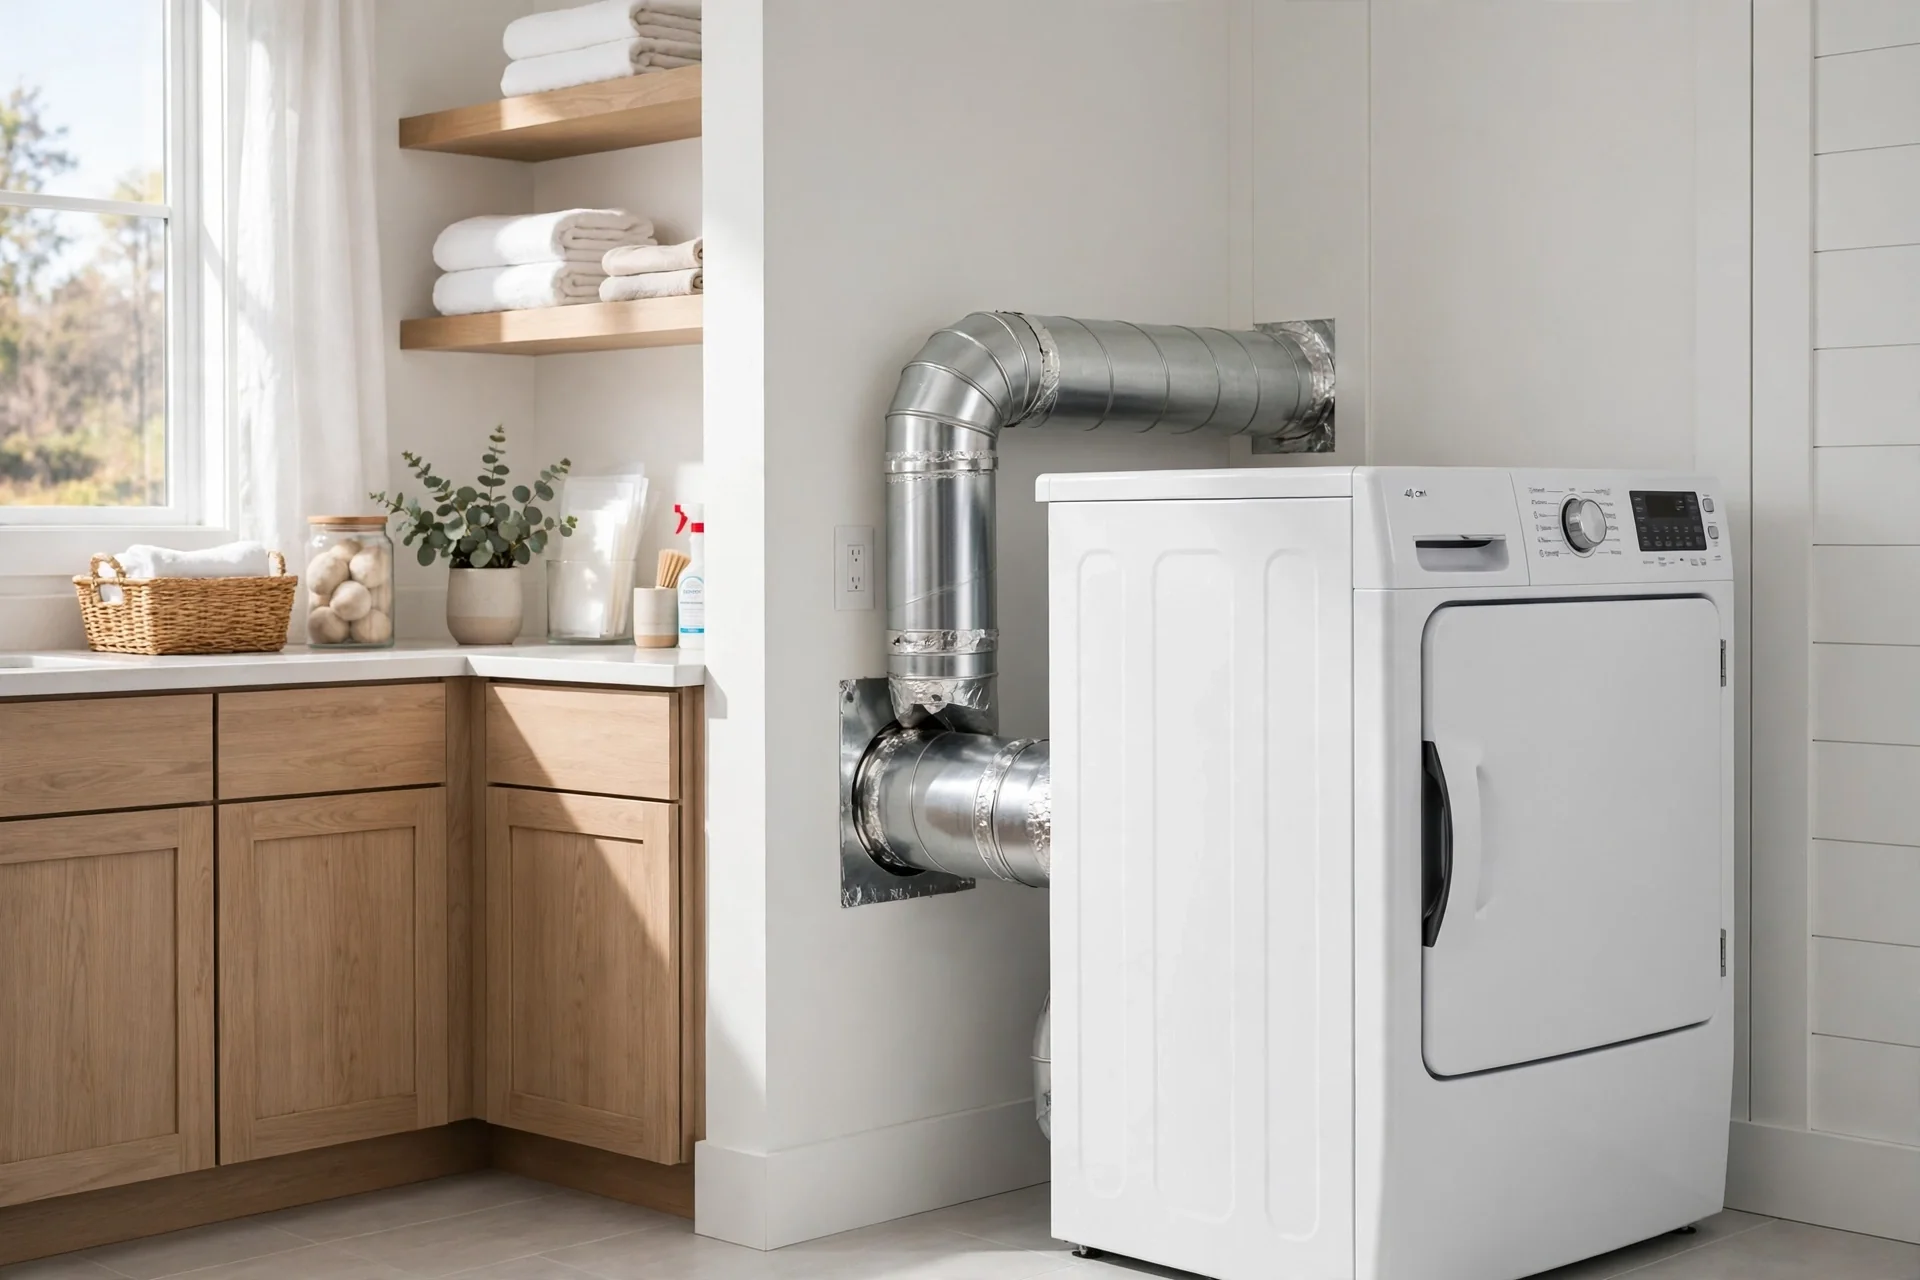
Dryer vent cleaning means clearing lint out of the duct that carries hot, damp air from your dryer to the outdoors, along with the outside vent hood and the space behind the dryer. The National Fire Protection Association (NFPA) says to do it once a year, or sooner if your clothes start taking longer than normal to dry. A professional visit typically costs somewhere between $100 and $270 in the U.S., depending on your vent and where you live.
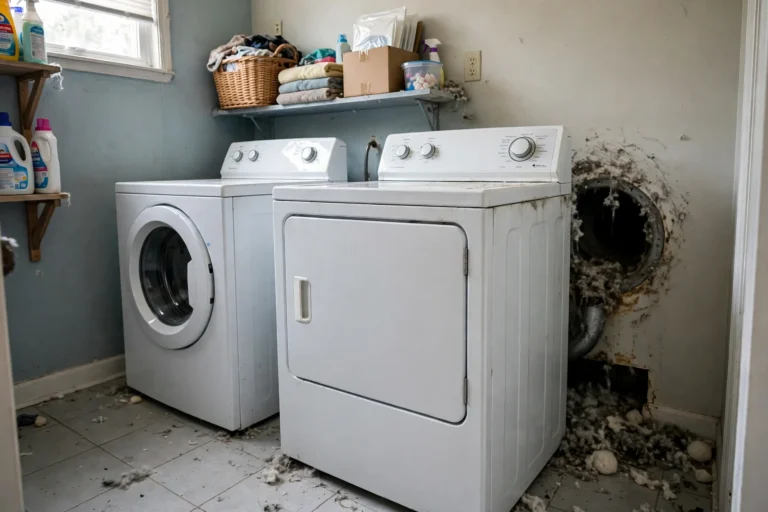
The lint screen doesn’t catch everything. The rest settles in the duct, and over months the buildup narrows the path the air has to travel. Below you’ll find what dryer vent cleaning covers, how often it’s needed, the warning signs, when DIY makes sense, and what else to check while you’re back there.
What a dryer vent system includes
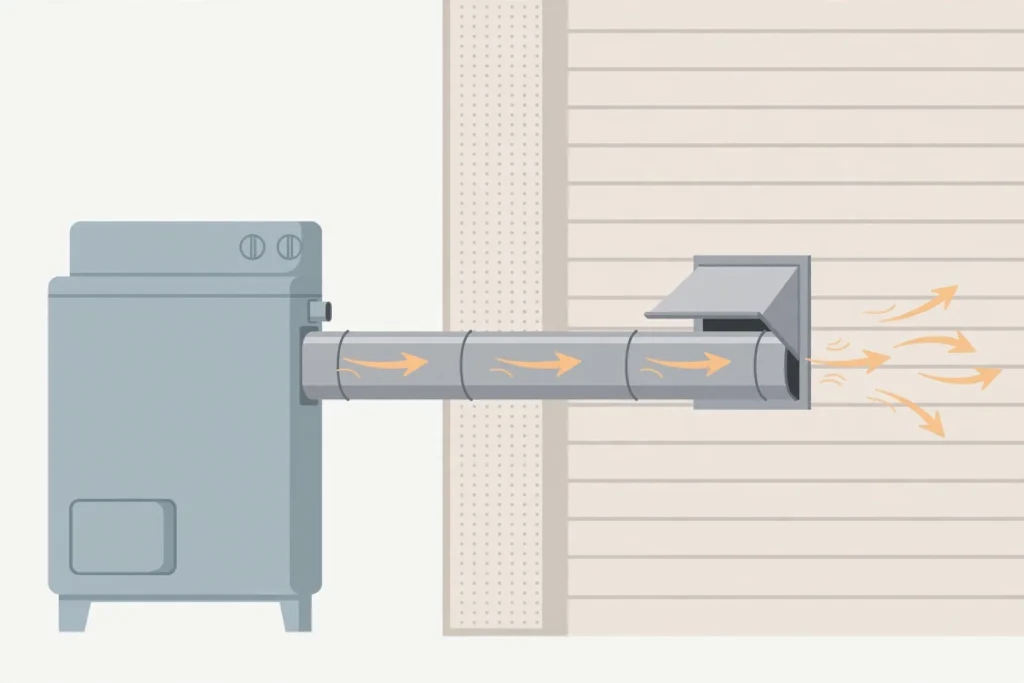
The vent is more than one pipe. Cleaning the lint screen after each load is part of the routine, but the parts that need a deeper cleaning sit further along:
- The lint screen. You clean this yourself, before or after every load.
- The drum area and the space behind the dryer. NFPA’s tips include removing lint that collects around the drum and behind the dryer.
- The exhaust duct. This is the pipe that runs from the back of the dryer through a wall, floor, or roof. Lint that gets past the screen ends up here.
- The outdoor vent hood. It has a flap that should open when the dryer runs. Snow, leaves, lint, or a nest can keep it from opening.
When people say “dryer vent cleaning,” they usually mean the last two.
Why buildup matters
Lint is flammable, and a restricted vent traps heat. NFPA’s analysis of home fires from 2010 to 2014 found that failure to clean was the leading cause of home clothes dryer and washer fires, at 31%. Lint was the most common first item to ignite in dryer fires (27%), followed by clothing (26%).
That doesn’t mean a dusty vent is about to catch fire. It does explain why fire departments treat vent cleaning as routine maintenance rather than an optional extra.
A blocked vent also hurts performance. Whirlpool’s installation guidance notes that improper venting can mean longer drying times and higher energy use, and long dry times are usually the first thing people notice.
How often to clean a dryer vent
Guidance varies a little, so here is what the main sources say:
| Source | Recommendation |
|---|---|
| NFPA dryer safety tips | Once a year, or more often if clothes take longer than normal to dry |
| Whirlpool (Check Vent light guidance) | Every one to two years, or as needed when drying performance drops |
| Washington State Fire Marshal’s Office | Clean lint out of the vent pipe every three months |
Once a year is a sensible baseline for dryer vent cleaning. A shorter interval makes sense if you do a lot of laundry, have a long duct run with several bends, or notice any of the signs below. Those are judgment calls, not fixed rules.
Two situations call for dryer vent cleaning regardless of the calendar. If you’ve just moved into a home and don’t know when the vent was last cleaned, assume it hasn’t been. And if you’re hooking up a new dryer to an existing vent, Whirlpool’s installation instructions say to clean lint from the entire length of the old system first.
Signs the vent needs attention
- Clothes take longer than usual to dry, or come out damp after a full cycle. NFPA lists this as a cue to clean sooner.
- A “check vent” or similar warning light comes on. On Whirlpool dryers, this light means airflow is restricted.
- The outdoor flap barely moves, or doesn’t open, while the dryer runs.
- The duct behind the dryer is crushed, kinked, or pulled loose.
- Lint collects around the vent opening or behind the dryer.
- The dryer or laundry room gets hotter than normal, or you smell something burning. Stop the dryer and unplug it until you’ve found the cause.
A clogged vent isn’t the only reason for slow drying. If you clean the vent and the problem stays, a failing heating element or another dryer fault could be responsible, and a repair technician should take a look.
DIY or professional?
Plenty of homeowners do their own dryer vent cleaning. The basic idea is simple: disconnect the duct from the dryer, remove lint from both ends and along the length of the duct, then reconnect it securely. The details depend on your setup, so we cover them step by step in a separate guide.
Hiring a pro makes more sense when:
- The vent exits through the roof or a second-story wall, where you’d need a ladder or roof access.
- The duct is long, runs through several rooms, or has multiple bends.
- You can’t easily reach one end of the duct.
- You have a gas dryer and aren’t comfortable moving it. Moving one means handling its gas connection, and NFPA recommends a yearly professional inspection of gas dryers.
- You’ve tried a brush kit and the problem is still there.
Whirlpool says cleaning the venting inside the house may call for a vent cleaning service, depending on how it was installed. Brush kits also have limits: rods only reach so far, and a brush can snag on a joint or a bend if the duct isn’t straight.
What a professional cleaning involves
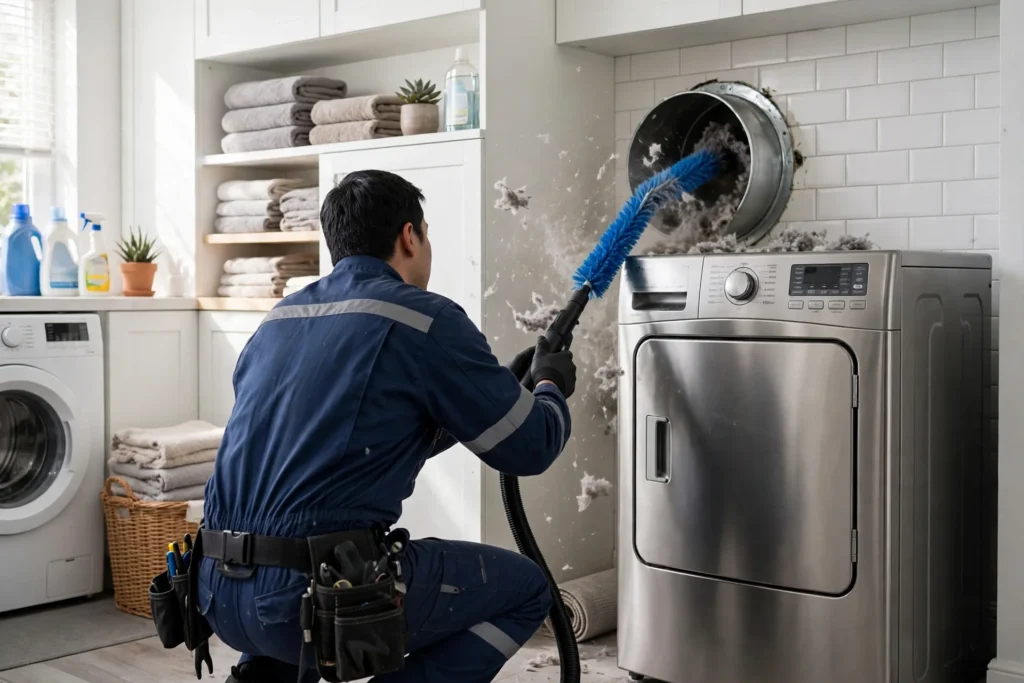
Services vary by company. A typical visit includes looking over the duct and outside hood, clearing lint from the length of the duct with brushes and a vacuum, cleaning the hood, reconnecting everything, and checking that air flows freely when the dryer runs. Some companies also look at the duct material, point out damage, and quote repairs separately. Ask what’s included before you book.
What dryer vent cleaning costs
Published 2026 cost guides in the U.S. put a standard residential cleaning at roughly $100 to $270. One guide lists a typical range of $128 to $270 with an average of $188. These are estimates, not quotes, and Canadian prices will differ by province and city.
What moves the price:
| Factor | Why it changes the cost |
|---|---|
| Vent length and number of bends | Longer, more complicated runs take more time |
| Where the vent exits | A roof vent is harder to reach than a ground-level wall vent and usually costs more |
| Condition of the duct | Heavy buildup, a blocked hood, or an animal nest adds work |
| Repairs or upgrades | Replacing a damaged duct, a hood, or foil or plastic ducting is usually priced separately |
| Bundled services | Companies often bundle dryer vent cleaning with air duct cleaning. The dryer vent price should be listed on its own so you can compare |
Ask for a written quote that names the work included, including whether the outside hood and a final airflow check are part of the price.
Check the duct material, length, and outdoor hood too
Dryer vent cleaning solves the lint problem. It doesn’t fix a vent that was set up poorly. While the dryer is pulled out, look at these:
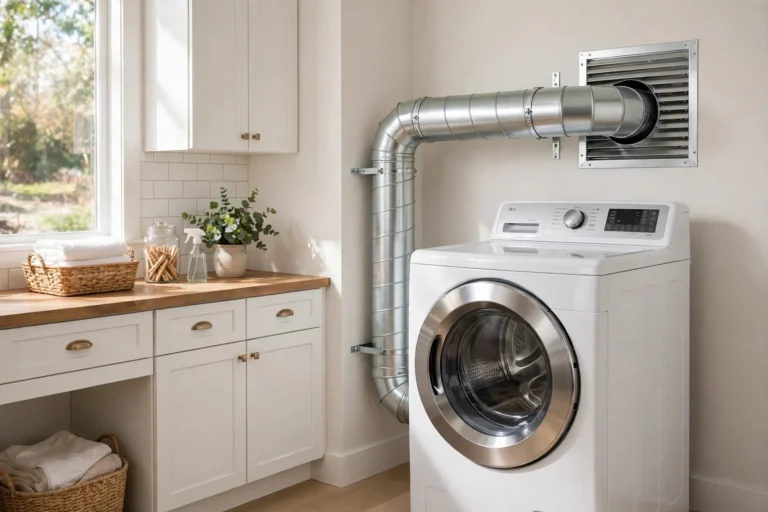
- Material. NFPA says to use rigid or flexible metal venting. Whirlpool’s instructions say not to use plastic or metal foil vent, to use 4-inch heavy metal vent, and that rigid metal is recommended because it resists crushing and kinking. Flexible metal vent is acceptable only if you can reach it to clean it.
- Clearance. Whirlpool advises leaving at least 4 inches between the dryer and the wall so the duct doesn’t get crushed.
- Length and elbows. The maximum vent length depends on the dryer model, the vent type, the number of elbows, and the type of hood. Your installation manual has the chart for your dryer.
- Local rules. Building codes differ between U.S. jurisdictions and Canadian provinces, and manufacturers tell installers to follow the codes that apply where they live. We go through code details in a separate article.
Whirlpool is one example. Other brands publish their own limits, so check the manual for your model.
Gas dryers
Gas dryers need one extra check. They must vent outdoors, because their exhaust includes combustion gases such as carbon monoxide along with moist air. NFPA recommends that a professional inspect gas dryers every year to confirm the gas line and connection are tight and leak-free. A blocked or disconnected vent on a gas dryer matters for more than lint, so make sure you have working carbon monoxide alarms in your home.
Habits that keep the vent clearer between cleanings
- Clean the lint screen before or after every load.
- Remove lint from around the drum and behind the dryer.
- Check that the outdoor flap opens when the dryer runs, especially after snow.
- Turn the dryer off when you leave the house or go to bed.
- Follow the manufacturer’s instructions and don’t overload the dryer.
- If clothes have touched gasoline, paint thinner, or similar solvents, NFPA says to lay them outside to dry first, then wash and dry them as usual.
Where to start
If you don’t know when your vent was last cleaned, pull the dryer out a few inches this week. Check that the duct is metal and not crushed. Then run the dryer and watch the outdoor flap. If the flap barely moves, or drying takes longer than it used to, schedule dryer vent cleaning or plan a DIY session. When you collect quotes, ask for the outside hood to be included and for the dryer vent price on its own line.
Frequently asked questions
Q: Is it safe to keep using the dryer if I think the vent is blocked?
A: If you smell burning, stop the dryer and unplug it until the cause is found. If drying is just slower than usual, clean the lint screen, check that the outdoor flap opens, and arrange a vent cleaning soon. NFPA ties longer drying times to the need to clean the vent, so slower drying isn’t something to ignore.
Q: I bought a new dryer. Do I still need to clean the old vent?
A: Yes. Whirlpool’s installation instructions say to clean lint from the entire length of an existing vent system before connecting the new dryer, and to make sure the exhaust hood isn’t plugged.
Q: Is vent cleaning covered by my dryer’s warranty?
A: Whirlpool’s guidance says cleaning the venting inside the house isn’t covered by warranty and isn’t performed by its appliance technicians. Check your own manufacturer’s terms.
2 Comments